Hey there, fire-cooking enthusiasts! If you’re here, you probably love the idea of cooking your meals over an open fire, surrounded by nature, with the crackling of flames providing a cozy backdrop.
This guide is for you – the real deal when it comes to outdoor cooking. We’ll dive into the essentials, from safety tips to the best equipment and techniques for making delicious meals over an open fire. Whether you’re a seasoned pro or just starting, there’s something here for everyone. So, let’s get those fires burning and create some unforgettable meals!
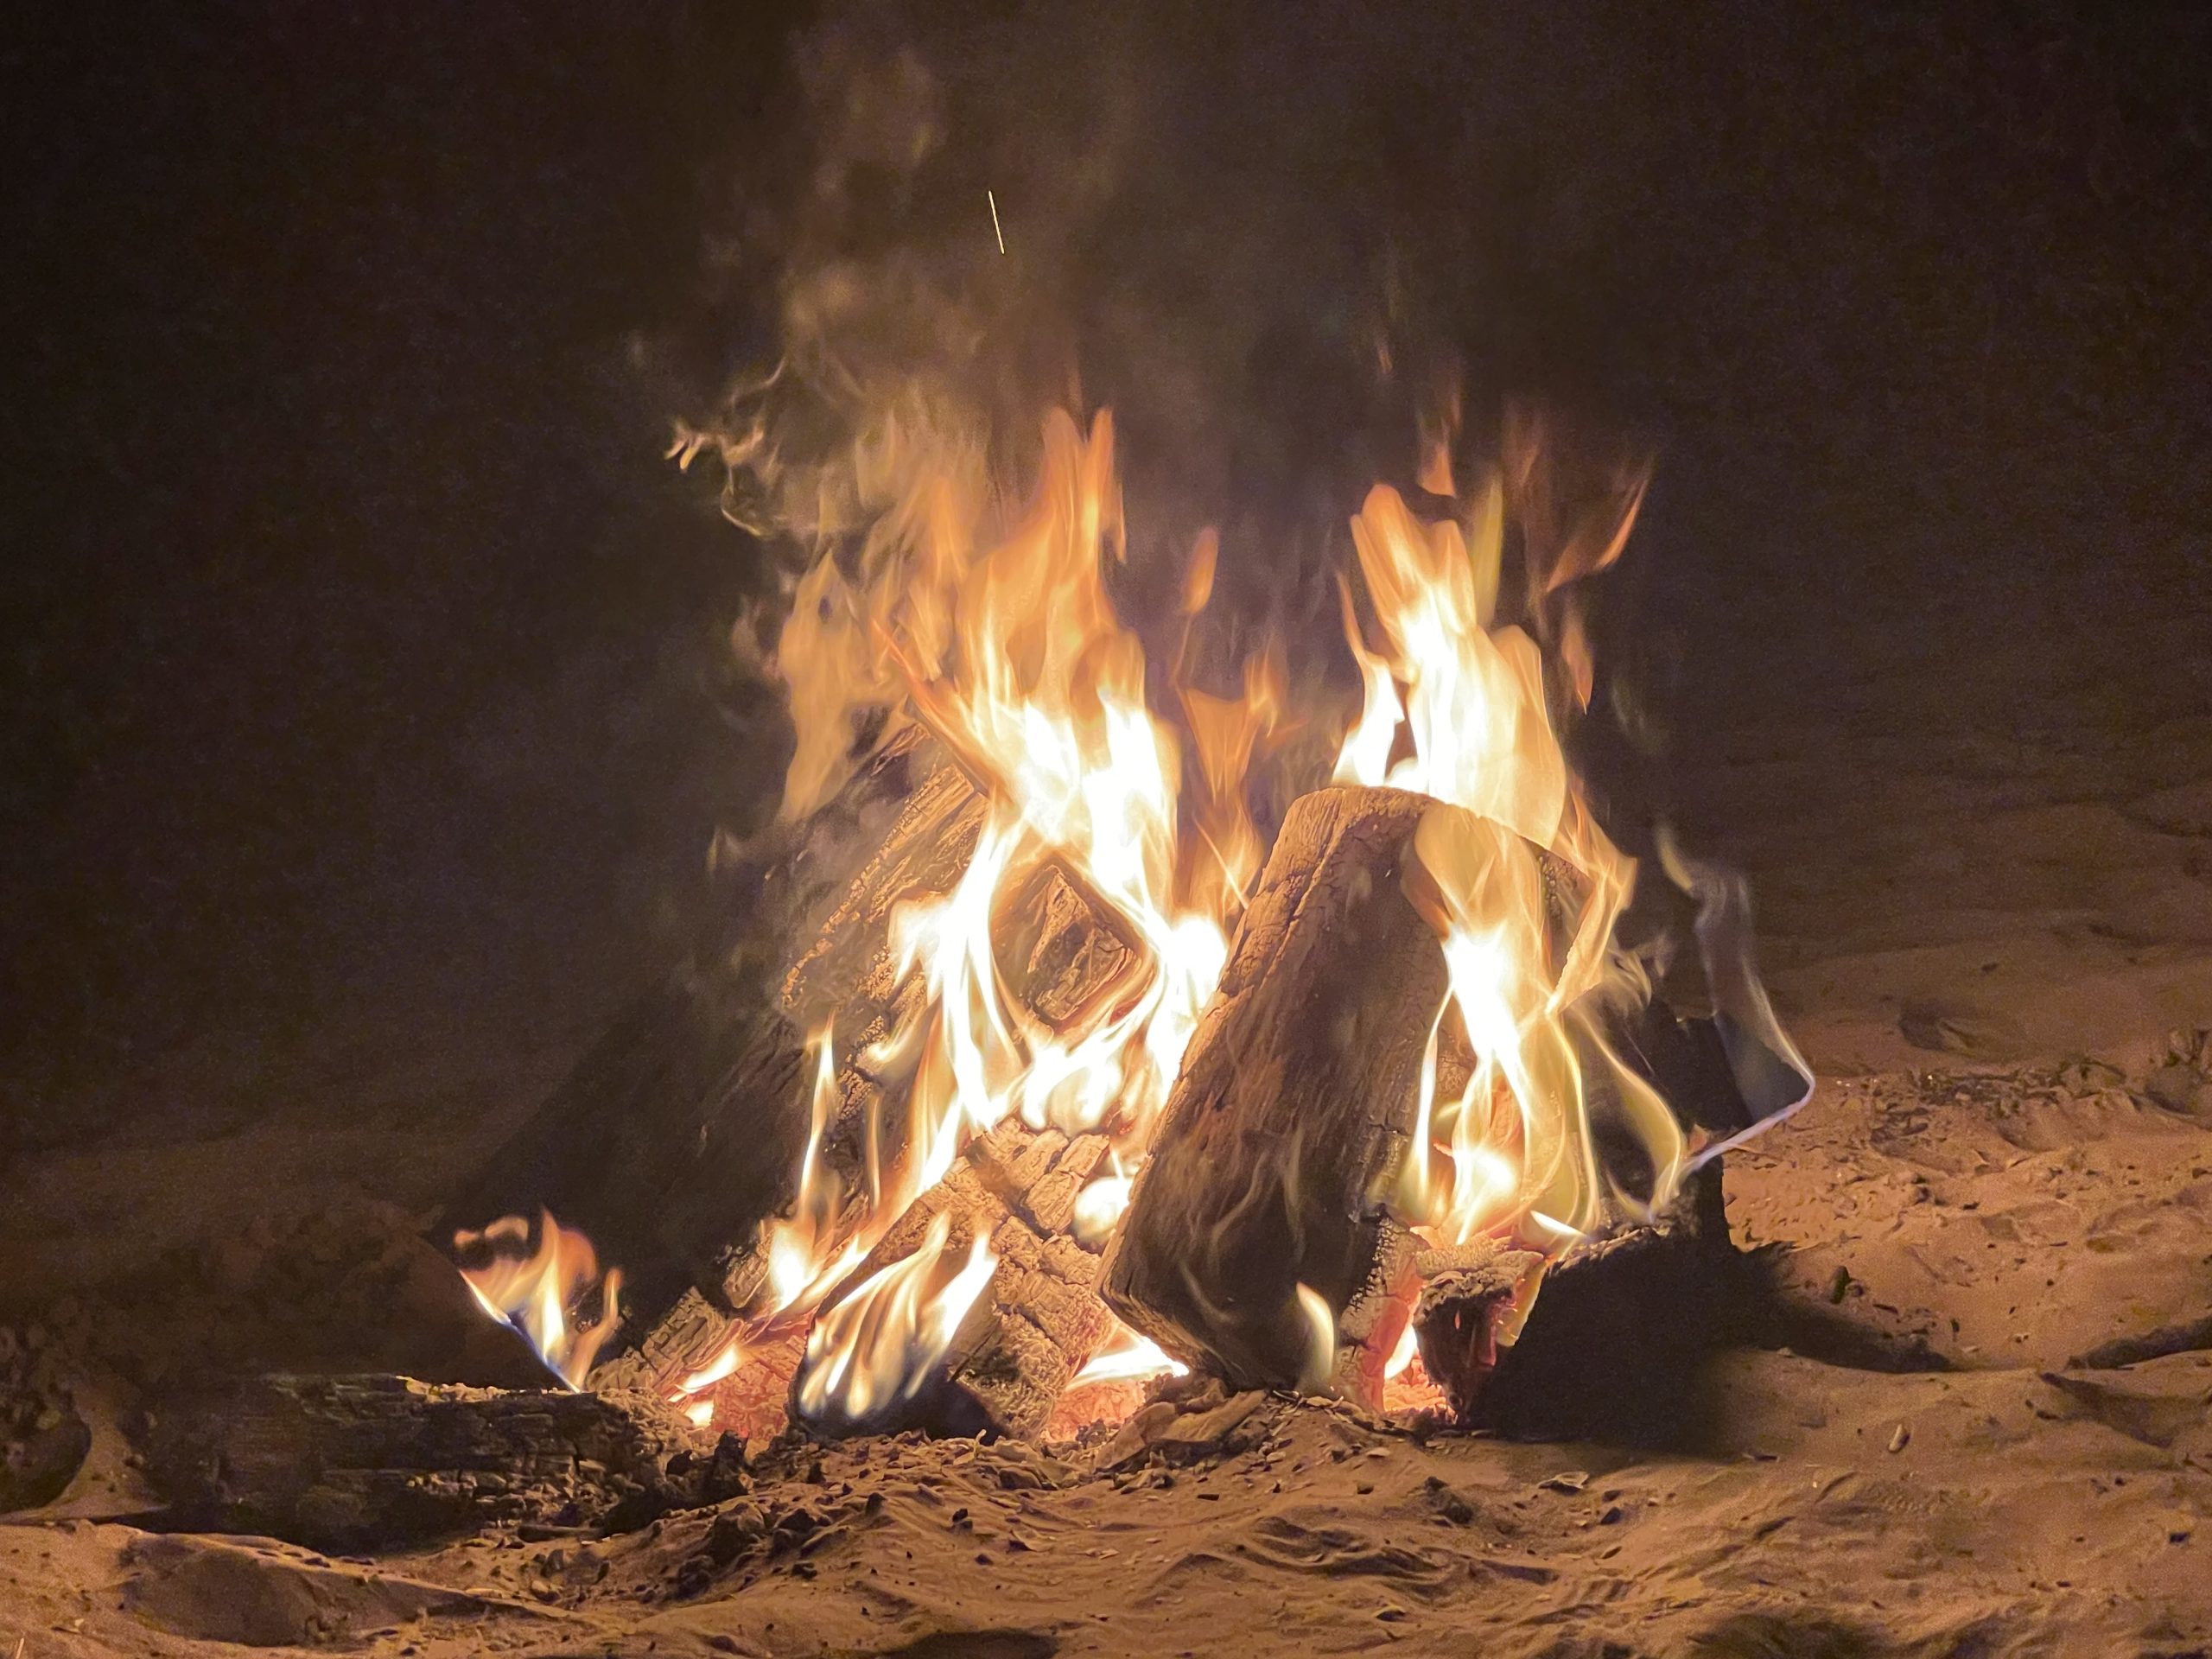
Safety First: The Golden Rules of Open Fire Cooking
Before we get into the fun stuff, let’s talk safety. Cooking over an open fire can be incredibly rewarding, but it also comes with risks, especially in dry conditions. Here are some golden rules to keep in mind:
- Choose Your Spot Wisely: Always select a safe, open area for your fire. Avoid dry grass, overhanging branches, and areas with strong winds. Clear away any debris that could catch fire. Look for a designated fire pit or create a fire ring using stones to keep the flames contained. Remember, the location of your fire is crucial in preventing accidental wildfires.
- Keep It Contained: Use a fire ring or build a stone circle around your fire to keep it contained. This helps prevent the fire from spreading. If you’re in a developed campground, use the provided fire rings or pits. For backcountry camping, build a fire ring from rocks if there isn’t one already established. This step is essential for controlling the size of the fire and keeping it from spreading.
- Water and Sand: Always have a bucket of water, a shovel, and sand nearby to extinguish the fire quickly if needed. Never leave your fire unattended. In addition to these, a fire blanket can be a lifesaver in emergencies. Being prepared with the right tools ensures you can handle any situation that arises, keeping both you and the environment safe.
- Check Local Regulations: Some areas may have fire bans, especially during dry seasons. Always check local regulations before starting a fire. This information can usually be found at ranger stations, park offices, or online. Ignoring fire bans can lead to hefty fines and serious consequences, so it’s crucial to stay informed.
- Extinguish Completely: When you’re done cooking, make sure to fully extinguish your fire. Douse it with water, stir the ashes, and repeat until everything is cold to the touch. Simply covering the fire with dirt or sand isn’t enough; embers can stay hot and reignite. Always follow the “drown, stir, and feel” method to ensure your fire is completely out.
Remember, safety is paramount. These steps not only protect you but also the beautiful environments we all enjoy. Being responsible with fire ensures that future generations can enjoy these natural spaces just as we do.

Essential Equipment for Open Fire Cooking
Now that we’ve covered safety, let’s talk about the gear you’ll need. Cooking over an open fire requires some unique and interesting equipment to make the most of your experience. Here’s a rundown of some must-have items:
Cast Iron Dutch Ovens and Pots
Cast iron is the workhorse of open fire cooking. It retains heat well and distributes it evenly, making it perfect for everything from stews to bread. A good cast-iron Dutch oven is versatile and practically indestructible. You can bake, boil, fry, and even roast in these heavy-duty pots. Their durability means they can handle the high heat of open flames and coals without warping or damage.
Cast iron pots with lids are perfect for making soups, stews, and braised dishes. The heavy lids help to trap heat and moisture, creating a mini-oven effect. For instance, you can make a mouthwatering beef stew by searing the meat first, then adding vegetables and broth, and letting it simmer over the coals. The result is a rich, flavorful dish that tastes like it was cooked all day.
Campfire Grills
A sturdy campfire grill is essential. These come in various shapes and sizes, from simple grate styles to more elaborate setups with adjustable heights. Look for a grill that suits your cooking style and needs. Some grills are designed to be placed directly over the fire, while others can be staked into the ground or attached to a tripod for height adjustment.
Campfire grills are perfect for cooking steaks, burgers, and vegetables. The adjustable height feature allows you to control the heat, ensuring your food cooks evenly. Some models even have side tables or hooks for hanging utensils, making the cooking process more convenient. Additionally, portable folding grills are great for those who need to pack light but still want to enjoy grilled food at their campsite.
Cooking Tripods
A cooking tripod with a chain and hook system allows you to hang pots over the fire at adjustable heights. This setup is great for soups, stews, and even hanging a Dutch oven. It gives you precise control over the cooking temperature. Tripods can also be used to hang kettles for boiling water or making coffee, adding to their versatility.
Tripods are ideal for slow-cooking dishes that need to simmer for a long time. By adjusting the height of the pot, you can control the intensity of the heat. For example, when making a hearty chili, you can start with the pot closer to the fire for a good boil, then raise it higher to let it simmer and develop flavors over a couple of hours. The tripod setup also allows you to rotate the pot, ensuring even cooking and preventing burning.
Skillets and Griddles
A good cast-iron skillet or griddle is invaluable. It’s perfect for frying, sautéing, and even baking. These tools are versatile and durable, making them essential for any fire-cooking setup. Skillets are great for dishes like fried eggs, bacon, or seared fish, while griddles can handle pancakes, flatbreads, and even pizzas.
Cast iron griddles with dual cooking surfaces (smooth on one side, ridged on the other) offer flexibility in cooking different types of food. The smooth side is perfect for making breakfast foods like pancakes and eggs, while the ridged side can be used for grilling meats and vegetables, giving them those desirable grill marks. Cast iron’s heat retention properties mean you can cook multiple batches without losing temperature, ensuring consistent results.
Grill Tools
Long-handled tools are a must to keep your hands safe from the flames. Look for sets that include tongs, spatulas, and basting brushes. These tools help you manage your food safely and efficiently. Heat-resistant gloves are also a good idea, as they provide an extra layer of protection when handling hot pans and grills.
In addition to the basics, consider adding a few specialty tools to your kit. A chimney starter for charcoal helps you get your fire going quickly without the need for lighter fluid. A grill basket is perfect for cooking smaller items like vegetables or shrimp that might fall through the grates. Skewers or roasting sticks are great for making kebabs or roasting marshmallows. With the right tools, you can handle any cooking challenge the fire throws your way.
Techniques and Tips for Cooking Over an Open Fire
Cooking over an open fire is both an art and a science. Here are some techniques and tips to help you master the craft:
Building the Perfect Fire
The key to great fire cooking is a well-built fire. Start with a small pile of tinder and kindling, light it, and then gradually add larger pieces of wood. Hardwood is best for cooking because it burns longer and hotter than softwood. Create a bed of hot coals for even cooking.
Building a fire with the right structure is crucial. The teepee method, where you arrange sticks and logs in a conical shape, helps the fire start quickly and burn efficiently. As the fire grows, you can transition to a log cabin structure, stacking logs in a square around the fire. This setup allows for better airflow and a more controlled burn. Once you have a good bed of coals, spread them out evenly to create a stable cooking surface.
Direct vs. Indirect Heat
Understanding how to use direct and indirect heat is crucial. Direct heat is great for grilling and searing, while indirect heat is perfect for slow-cooking and baking. Arrange your coals to create different heat zones.
To use direct heat, place your grill grate or cooking surface directly over the hottest part of the fire. This method is ideal for quick-cooking items like steaks, burgers, and vegetables. For indirect heat, move the coals to one side of the fire pit or create a separate area where the heat is less intense. This setup is perfect for roasting whole chickens, baking bread, or simmering stews in a Dutch oven. By mastering both direct and indirect heat, you can cook a wide range of dishes to perfection.
Using a Dutch Oven
Dutch ovens are incredibly versatile. You can place them directly in the coals or hang them from a tripod. For even cooking, rotate the pot and lid every 15 minutes. This method is great for stews, soups, and even baking bread.
When using a Dutch oven, preheat it by placing it over the fire or coals before adding your ingredients. This helps to ensure even cooking. For baking, place coals on top of the lid to create an oven-like environment. When making dishes like cobblers or casseroles, this technique helps achieve a golden brown crust. Additionally, Dutch ovens can be used for frying – the deep sides help contain splatters and maintain a consistent temperature.
Grilling and Searing
A campfire grill is perfect for grilling meats and vegetables. Let your grill grate heat up before placing food on it to prevent sticking. For a perfect sear, place your food directly over the hottest part of the fire, then move it to a cooler area to finish cooking.
For best results, brush your grill grate with oil to create a non-stick surface. Marinating your meat beforehand not only adds flavor but also helps to keep it moist during cooking. Use a meat thermometer to ensure your food reaches the desired internal temperature without overcooking. Vegetables can be grilled directly on the grate or placed in a grill basket for easy handling. Remember to let the meat rest after grilling to allow the juices to redistribute, resulting in a more tender and flavorful dish.
Cooking on a Tripod
Using a tripod allows you to adjust the height of your pot over the fire, giving you precise control over the cooking temperature. This is ideal for dishes that require simmering or slow cooking.
When cooking with a tripod, start by positioning your pot closer to the fire to bring liquids to a boil. Once boiling, raise the pot higher to reduce the heat and maintain a simmer. This method is perfect for dishes like chili, where long, slow cooking allows the flavors to meld together beautifully. Tripods are also excellent for making coffee or tea, as you can quickly bring water to a boil and then lower the pot to keep it hot without boiling over.
Proper care of your cast iron is essential. After cooking, clean your cast iron with hot water and a brush – avoid soap. Dry it thoroughly and apply a thin layer of oil to prevent rust.
Seasoning your cast iron regularly keeps it in top condition. After cleaning, heat the pan slightly to evaporate any remaining water, then apply a thin coat of vegetable oil or shortening. Wipe off the excess and store your cast iron in a dry place. If your cast iron develops rust, scrub it with a mixture of coarse salt and oil, then re-season. With proper care, your cast-iron cookware will last for generations, becoming more non-stick and developing a rich patina over time.
Cooking over an open fire is an amazing way to connect with nature, enjoy delicious meals, and create unforgettable memories. With the right equipment and a bit of know-how, you can turn any campsite into a gourmet kitchen. Remember to always prioritize safety, especially in dry conditions. Respect the environment, have fun, and happy cooking! Whether you’re simmering a stew in a Dutch oven or grilling a steak over hot coals, the adventure of open fire cooking is truly unparalleled. Here’s to great food and great times around the campfire!
There’s something about cooking outdoors that slows time down a little – the sound of the fire, the weight of the cast iron, the quiet that settles in when the only thing you’re focused on is the food in front of you. Every recipe here is one more stop along the way… one more meal cooked under open sky, one more reminder that simple ingredients and a good pan can turn any place into a kitchen.
If you’re following along on this journey, I’m glad you’re here. There’s a lot more to cook, a lot more to explore, and every dish adds a new chapter to where this project is heading.
If you want to see these cooks the way they actually happen – fire, scenery, and the moments between – you can find all the videos on the Cooking on the Road YouTube channel. And for more recipes, gear notes, and behind-the-scenes updates, everything lives right here on the website.
See you at the next cookout.
Some of the links here are affiliate links. This means that if you click on the link and make a purchase, we will receive an affiliate commission at no additional cost to you.